This article will highlight some of the stages in the making of a long sword.
The type belongs to a group of swords that can be identified by some shared characteristics. Almost all are long swords but two are of single hand size. Ewart Oakeshott classified the members of this group into different types depending on subtle differences in the shape of their blades. In his “Records of the Medieval Sword” they are published as being of type XVII, XIX and XXa.
All of them have long slim blades. Some are specialized for the thrust while others are equally suited for the thrust and for the cut. All have a prominent ricasso that is either fullered or hollow ground on each side of the narrow fuller.
The sword featured in this article will borrow features from some of the original swords but also include unique features that are found on swords outside the group. The blade is some 96 cm long and the complete sword will be around 128 cm long. The blade is fairly thin and the total weight of the sword will be rather low for its size, around some 1.4 kilos. The exact weight will be worked out once the blade has reached its final form and the guard is forged, files and fitted.
Weighing properties and adjusting proportions
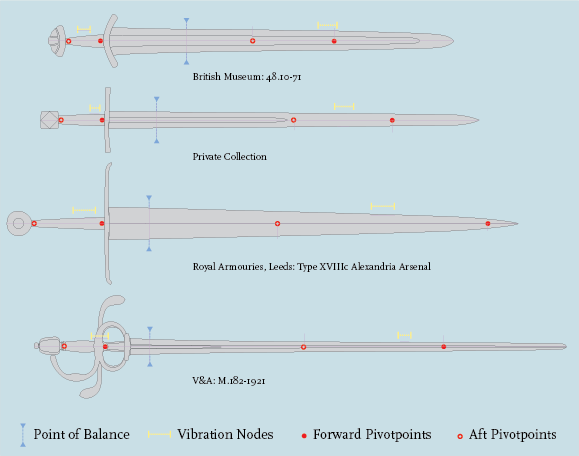
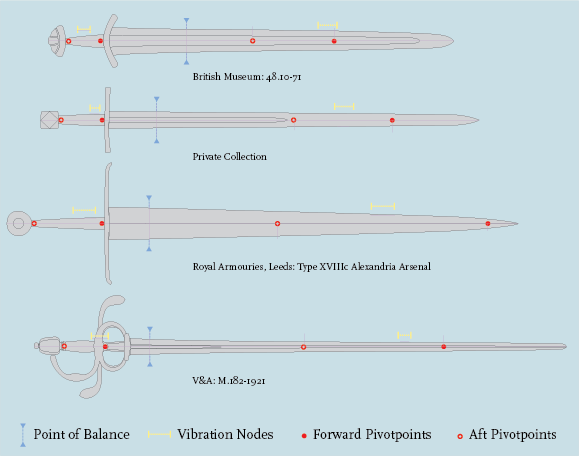
To learn about the functional properties of a long sword we must look at surviving weapons from the period. Looking at long swords made for similar use, we can learn what dynamic properties are suitable for a sword of this size and weight. Based on study of originals we see that the forward pivot point should be located close to the point of the blade and that the aft pivot point often is placed some where half way to a third from the hilt of the sword.
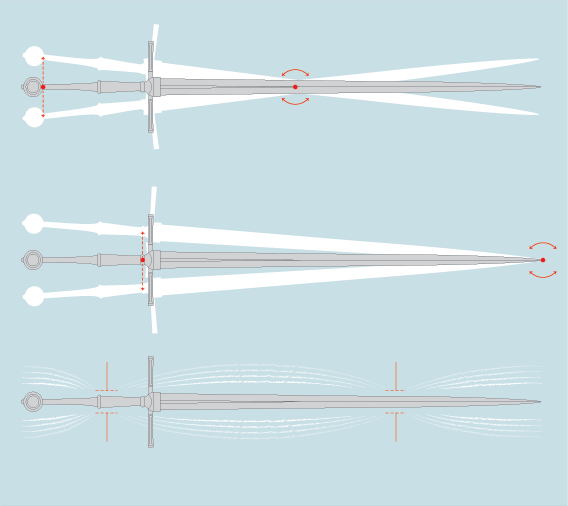
The dynamic properties of a sword can be described with the placing of the point of balance, the placing of pivot points and the placing of the points of no vibration. Overall size, weight also plays a role in how the sword behaves in motion: how its heft is appreciated. Below an illustration showing the effect of pivot points and vibration nodes.
Below is an illustration showing the dynamic properties of different types of swords from different time periods. It should be noted that there are many variations in the material. The illustrations should be seen as an example of typical trends exemplified by swords from four different time periods: an anglo saxon sword, a high medieval arming sword, a 15th century long sword and a 16th century rapier.
Having decided on the size of the weapon and what dynamic properties are suitable we can then focus on setting out the proportions of the sword. Before I start forging the blade I like to have a rather detailed idea of the final sword in regards to both function and aesthetics. These ideas influence work and help guide the flow as all parts take shape. I often start by making a plan that includes a geometric overlay that defines the proportions of all parts as well as their placing in relation to each other. This plan is kept alongside notes on the dynamic properties I want the final sword to exhibit.
Below is a drawing showing the proportions of the blade set out on a plan that will also define the details of the hilt. Later on I will show in detail how this is done.

Some gritty work
After forging, heat treat and rough grinding follows a few days of work with stones and emery paper to define the lines and forms of the blade. When the blade is forged the overall distribution of mass is set in the blade. During grinding and final hand finishing the self balance of the blade is further adjusted so that the finished sword will get good and purposeful handling characteristics. The cross section of the blade is also finally defined during the hand finishing process. This sets the kind of sharpness the sword will have. Thinner cross section and acuter edge angle will give an edge that will have a more aggressive bite. A thicker body and blunter edge angle will give a less acute but more durable edge. There is no single combination that is always *best*: it is always a matter of balancing the intended use of the sword against its size and mass, and not least, the hardness and durability of the steel.
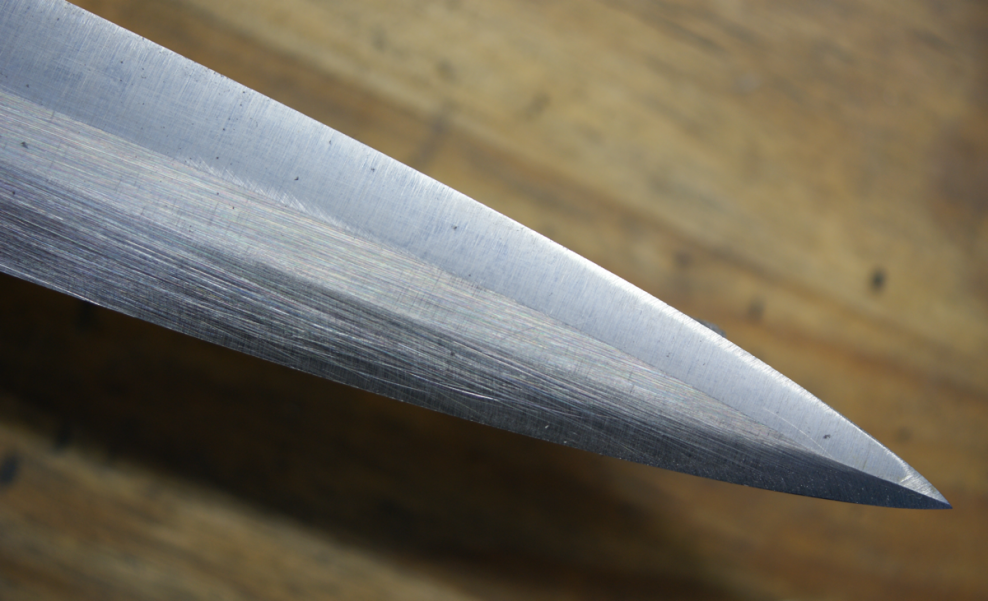
Below some closeup images of the blade as it is being worked with emery paper and stones to bring out lines and surface. During this work the blade s constantly checked for changes in flexibility, balance and edge geometry.
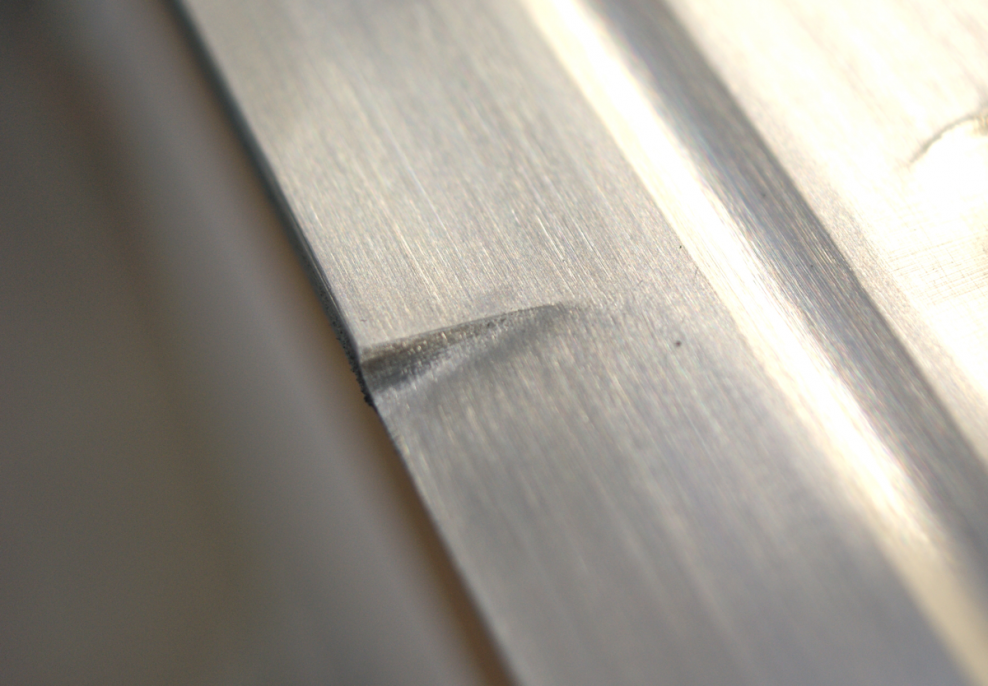
The plunge cut forming the start of the edge bevels has strong visual impact on the blade. It is important not to wash out the lines in this area.
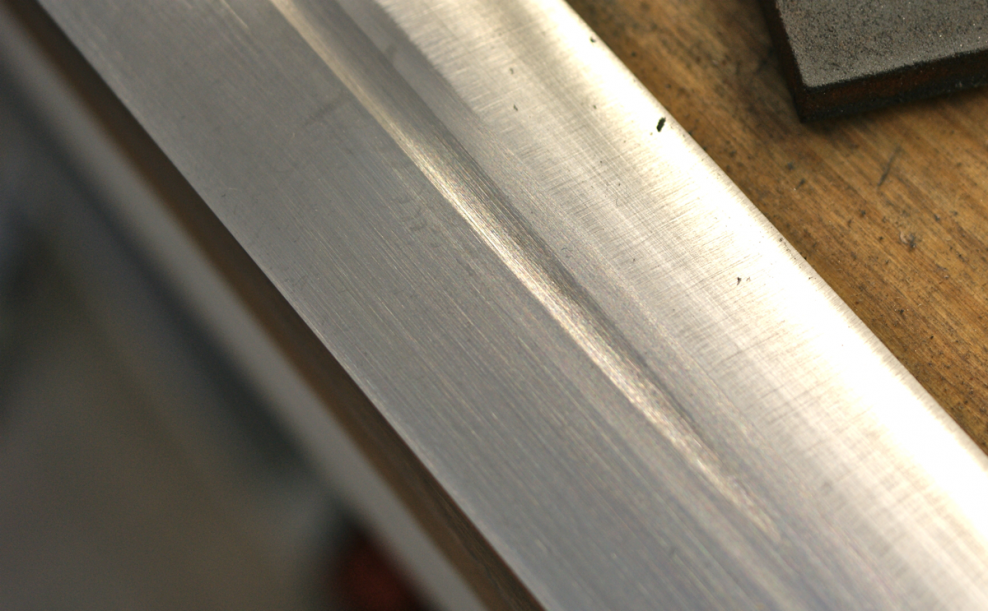
The lift of the fuller is another place where the eye is drawn to when looking at a blade. The length and width of the fuller correlates with the overall dimensions of the blade, fulfilling both a functional and an aesthetic role. The fuller removes some material from the base of the blade and thereby shifts the self balance of the blade. In this case the fuller is both shallow and narrow, so the effect is marginal, but not completely insignificant. The narrow fuller gives a point of reference for both width and thickness of the log and slim blade, helping the eye to appreciate the volume and dimension of the blade. Again, it is important to keep the lines as crisp as possible so that the shape of the blade comes out clearly.
Pommel and guard begin to take shape
The lines and planes of the blade are now set and finish is brought to next but last grit. The edge is yet not fully sharpened, for safety reasons and the last polishing is saved for the preparation of final mounting of the sword.
I have spent some time in the forge working on the pommel and guard and am now refining them with the file. The front and back of the pommel will have plates inlayed onto the recesses. It is made partially hollow to get the proper weight: its size is determined to meet certain proportions of the hilt. Work on the plates have not yet begun. The surface of the pommel is still showing some roughness from the file.
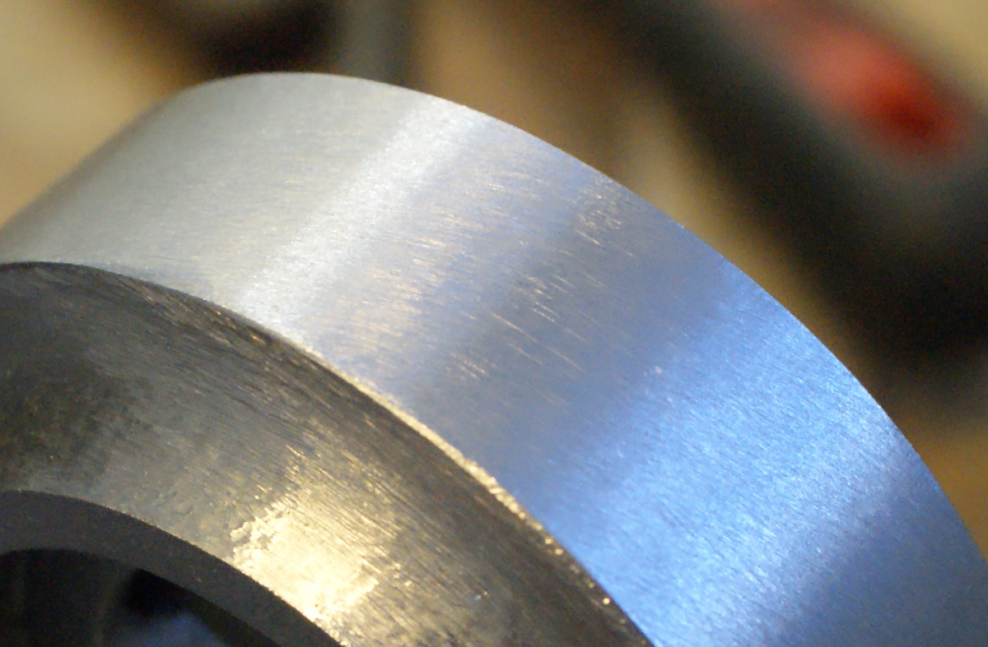
When guard and pommel are tapped in place on the tang, the sword now gives a deep and nice note, like a chime when struck with a wooden dowel. The balance of the sword is smooth: it has a floating, hovering feel to it with a soft pull forwards of the blade.
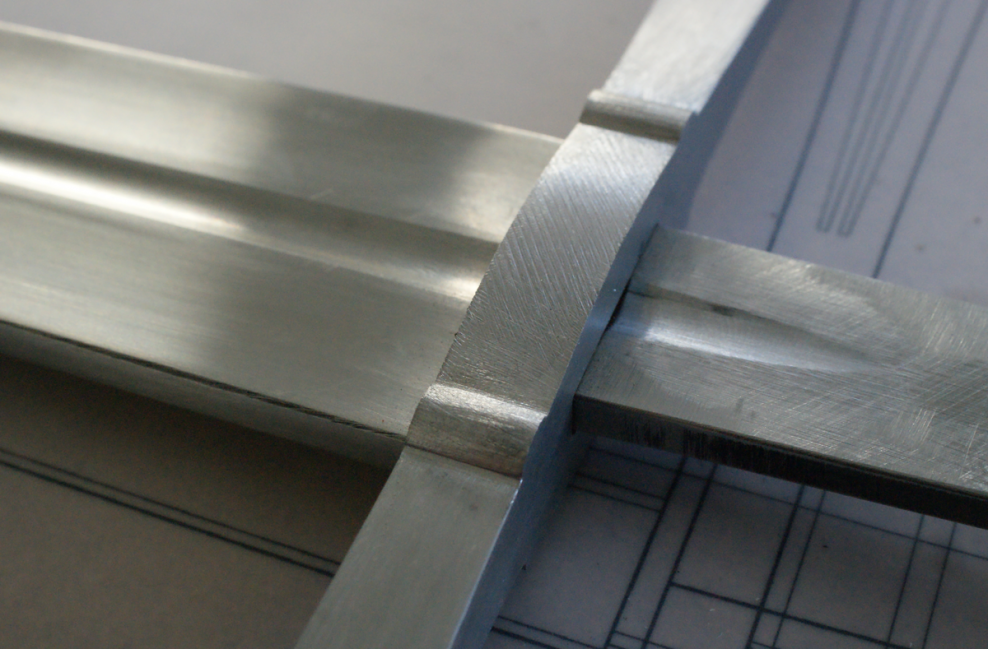
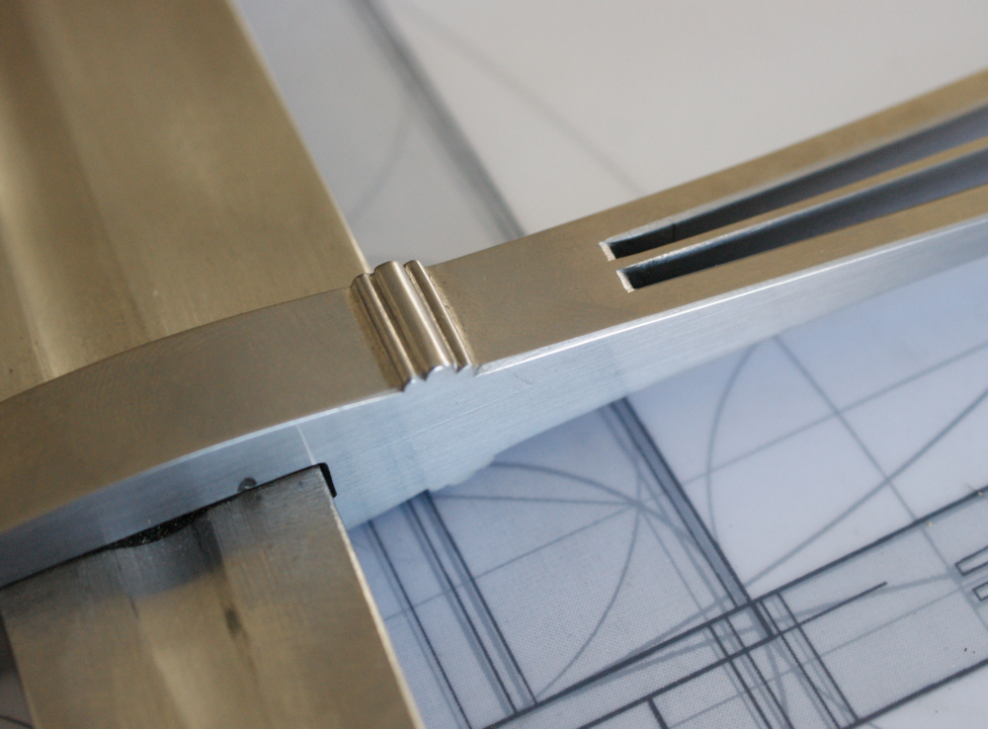
Todays work will focus on the cut out decorations of the guard. It has been fitted to the tang of the blade for a snug press fit and its overall form refined with some file work. In the image below you can see how the shape of the guard is prepared for further detailing with piercing and decorative groves.
Detail and decorations in guard and pommel
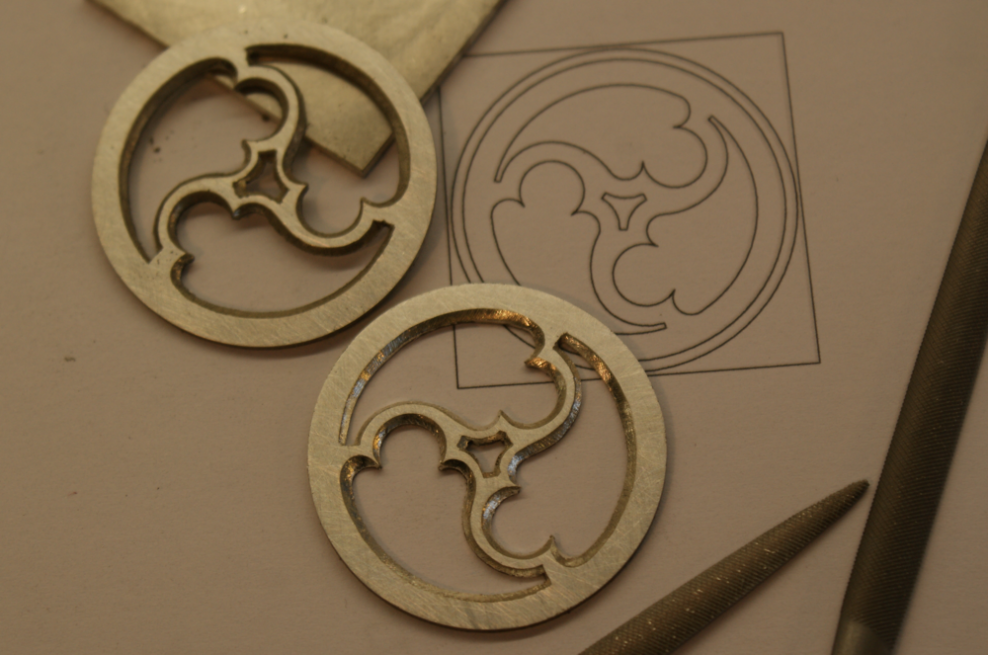
When shape and volume (and thus weight) is set it is time to focus on some decorative elements of the hilt. The guard is to have cut outs similar to a Gothic window. It is a feature that survives in a few originals and it can add a sense of grace to an otherwise austere form. The pommel will have inserts in the hollow of each face. These are cut from sterling silver, showing a Gothic trefoil pattern.
Emery paper wrapped around a round file is used to take away file marks from the concave rim of the pommel.
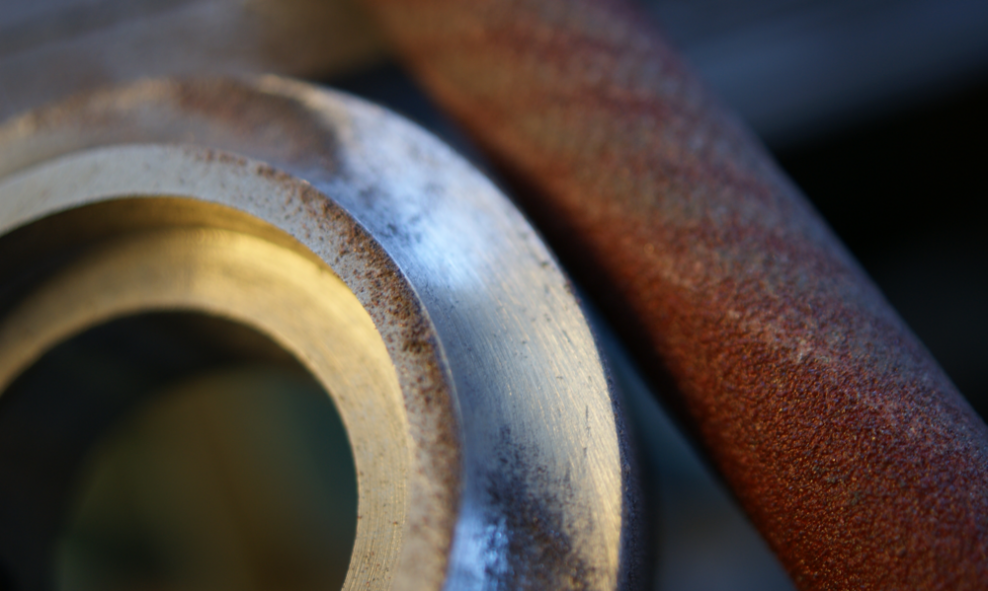
Draw filing is a handy way to make surfaces flat.
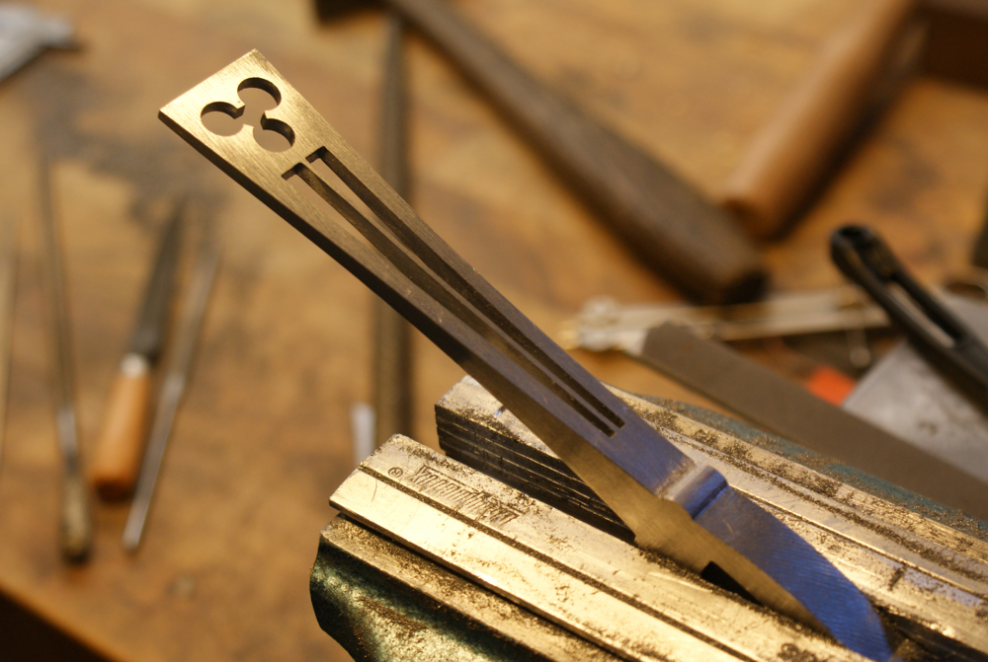
The edges of the cut out decoration are beveled with needle files to increase the sense of volume and to catch some light.
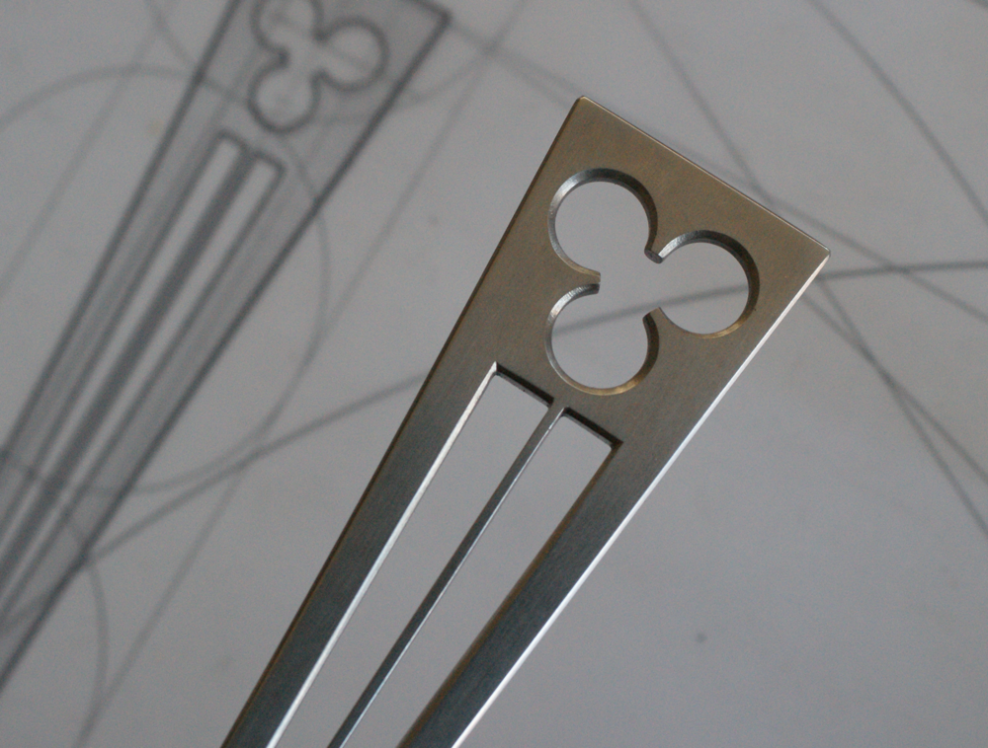
Some extra detail is brought to the ridges that mark the middle of the guard, shaping them like supporting pillars of a gothic cathedral.
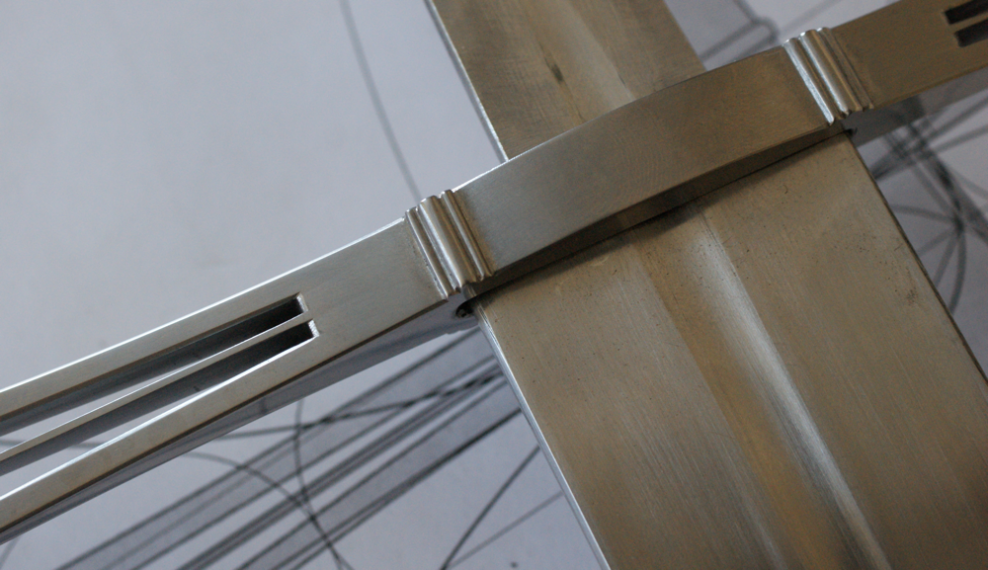
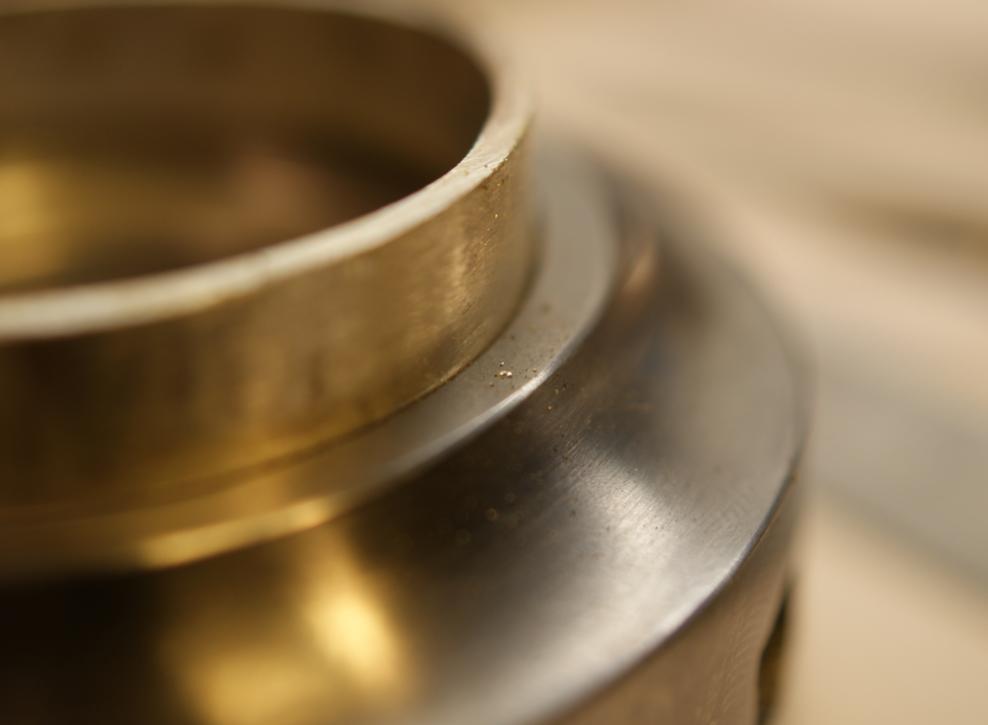
And so on to the silver inserts of the pommel. Fist step is to make a rim that will act like a tubular rivet, holding down the silver discs.
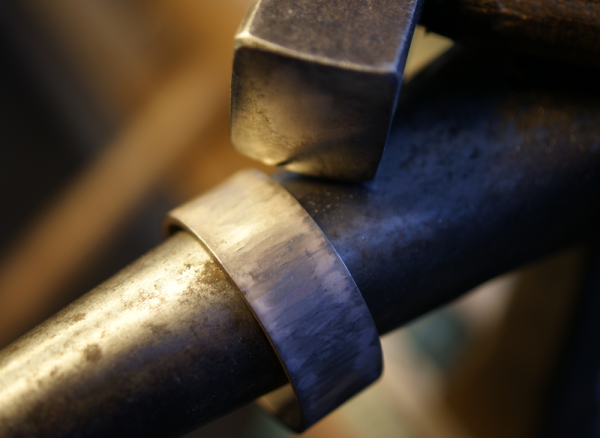
The rim is tested for a snug fit into the recess in the face of the pommel.
The trefoil pattern is cut out with a jewelers saw and further refined with needle files.
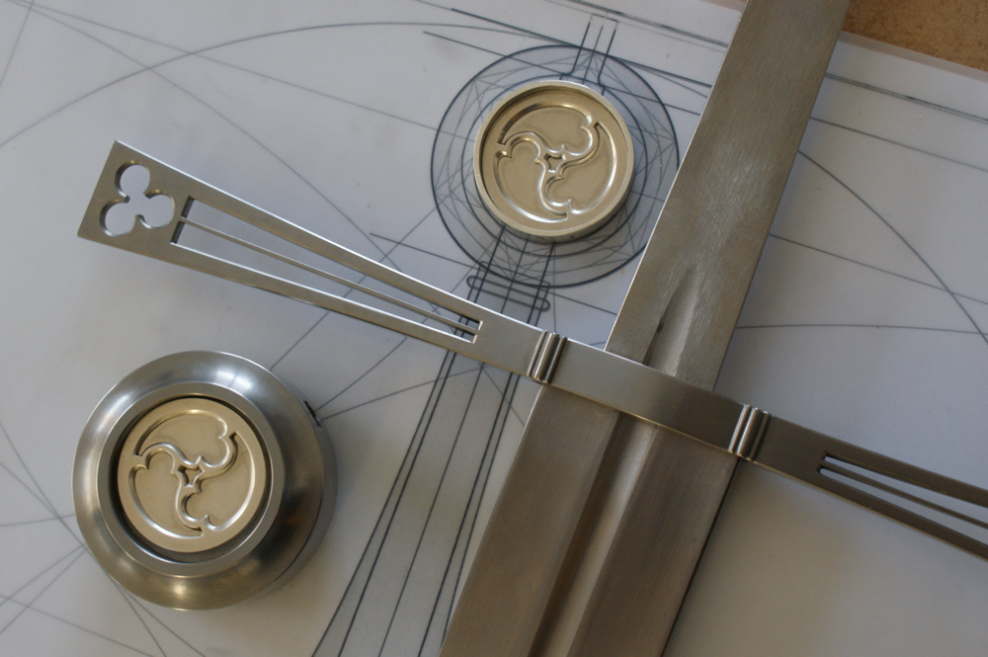
The geometry of the proportions
Below is a short video showing how the proportions of all parts relate to each other and the overall plan.
-Please watch in high resolution if possible, or else much detail will be lost or fuzzy. Thanks!
This article will be updated over time as work progress on the sword.


